
Getting Started With On Shelf for iPhone
(Go to Getting Started for iPad)
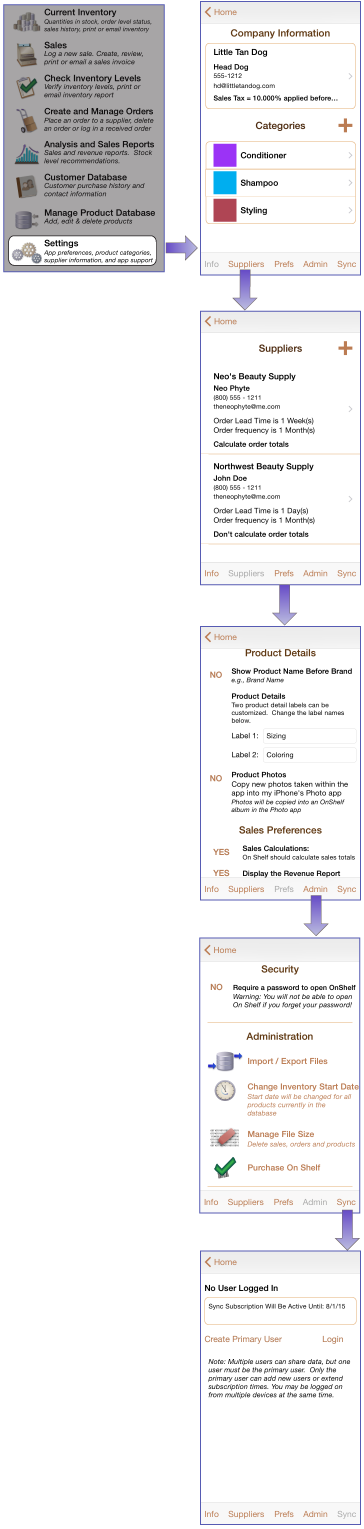
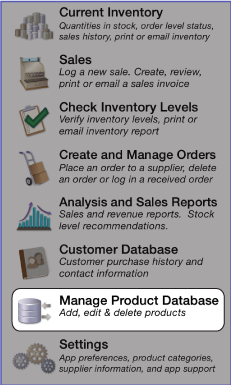
1. Go to Settings
Input your information. Tap on the box below the Company Information header. Fill in your contact information - On Shelf automatically fills in your company name and contact information when you send an order to your supplier or print it out . This is also the place to input your local sales tax information and to specify if you would like to use invoice numbers. You may also import a 500x80 px .png file to be used as your logo on invoices.
Input the categories for the products that you carry (e.g., shampoo, conditioner). On Shelf allows you to set colors for each category.. The thumbnails of your products will be framed with the category color.
2. Select the Suppliers Tab
Enter your supplier information. The order feature will not function If you do not input any suppliers. The supplier contact information will be used when you prepare orders.
The supplier lead time and order frequency are used to recommend inventory levels for each product (safety stock, reorder point and stock levels). These values need to be entered. Use the select buttons to choose the units.
Select whether you want On Shelf to calculate order totals for this supplier and enter any applicable sales tax.
3. Select the Preferences Tab
Decide how you would like your products displayed. You may customize two of the product details fields to meet your needs.
Determine if you would like to copy any photos taken within On Shelf into your iPad's Photo app.
Specify if you want On Shelf to calculate sales totals. If you do, then input your local sales tax in the My Information screen. Note: invoices will not show a total for the sale if this option is not selected.
Select one of the sales reporting options. If you want to enter each sales transaction, then option 2 is the best choice. This option will ignore any inventory adjustments in the reported sales numbers. Option 1 is best for users who will not be entering every sales transaction. Don't worry if you change your mind. You can always select the other option and On Shelf will recalculate your sales.
Note: Changing the quantity in stock from the product database area does not affect the reported sales for either option. This allows missing or damaged items to be accounted for without affecting your sales reports.
2. Select the Admin/Help Tab
Decide whether someone needs to enter a password to use On Shelf.
Purchase On Shelf when you are ready or if you want to add more than 15 products.
3. Setup a Sync Account
Select a user name for the primary user. This account is free for the first month. You may also opt to purchase multiple users after the primary account has been created.
2. Add Your Product Information
If you want to import your product descriptions from a tab-delimited file, then see this tutorial. To manually enter your product descriptions or add photos to your imported products, then go to the Manage Product Database section.
Note: Only 15 products may be entered before you purchase On Shelf.
Add a product by pressing the ![]() button in the upper right corner. Or add a photo to a product by selecting the product and using the buttons described below.
button in the upper right corner. Or add a photo to a product by selecting the product and using the buttons described below.
Fill in the product information. It is not necessary to fill in every field, but you should enter the supplier, the quantity you have in stock, and your best guess at the safety stock level, re-order point and normal stock level.
![]() The green camera button can be used to take a photo.
The green camera button can be used to take a photo.
![]() The blue button can be used to select any photo in your Photo app.
The blue button can be used to select any photo in your Photo app.
![]() The red trash button can be used to delete the product photo
The red trash button can be used to delete the product photo